 Project Colin
/ Build guides
Project Colin
/ Build guides
Programming ATtiny85 on M-Series Mac
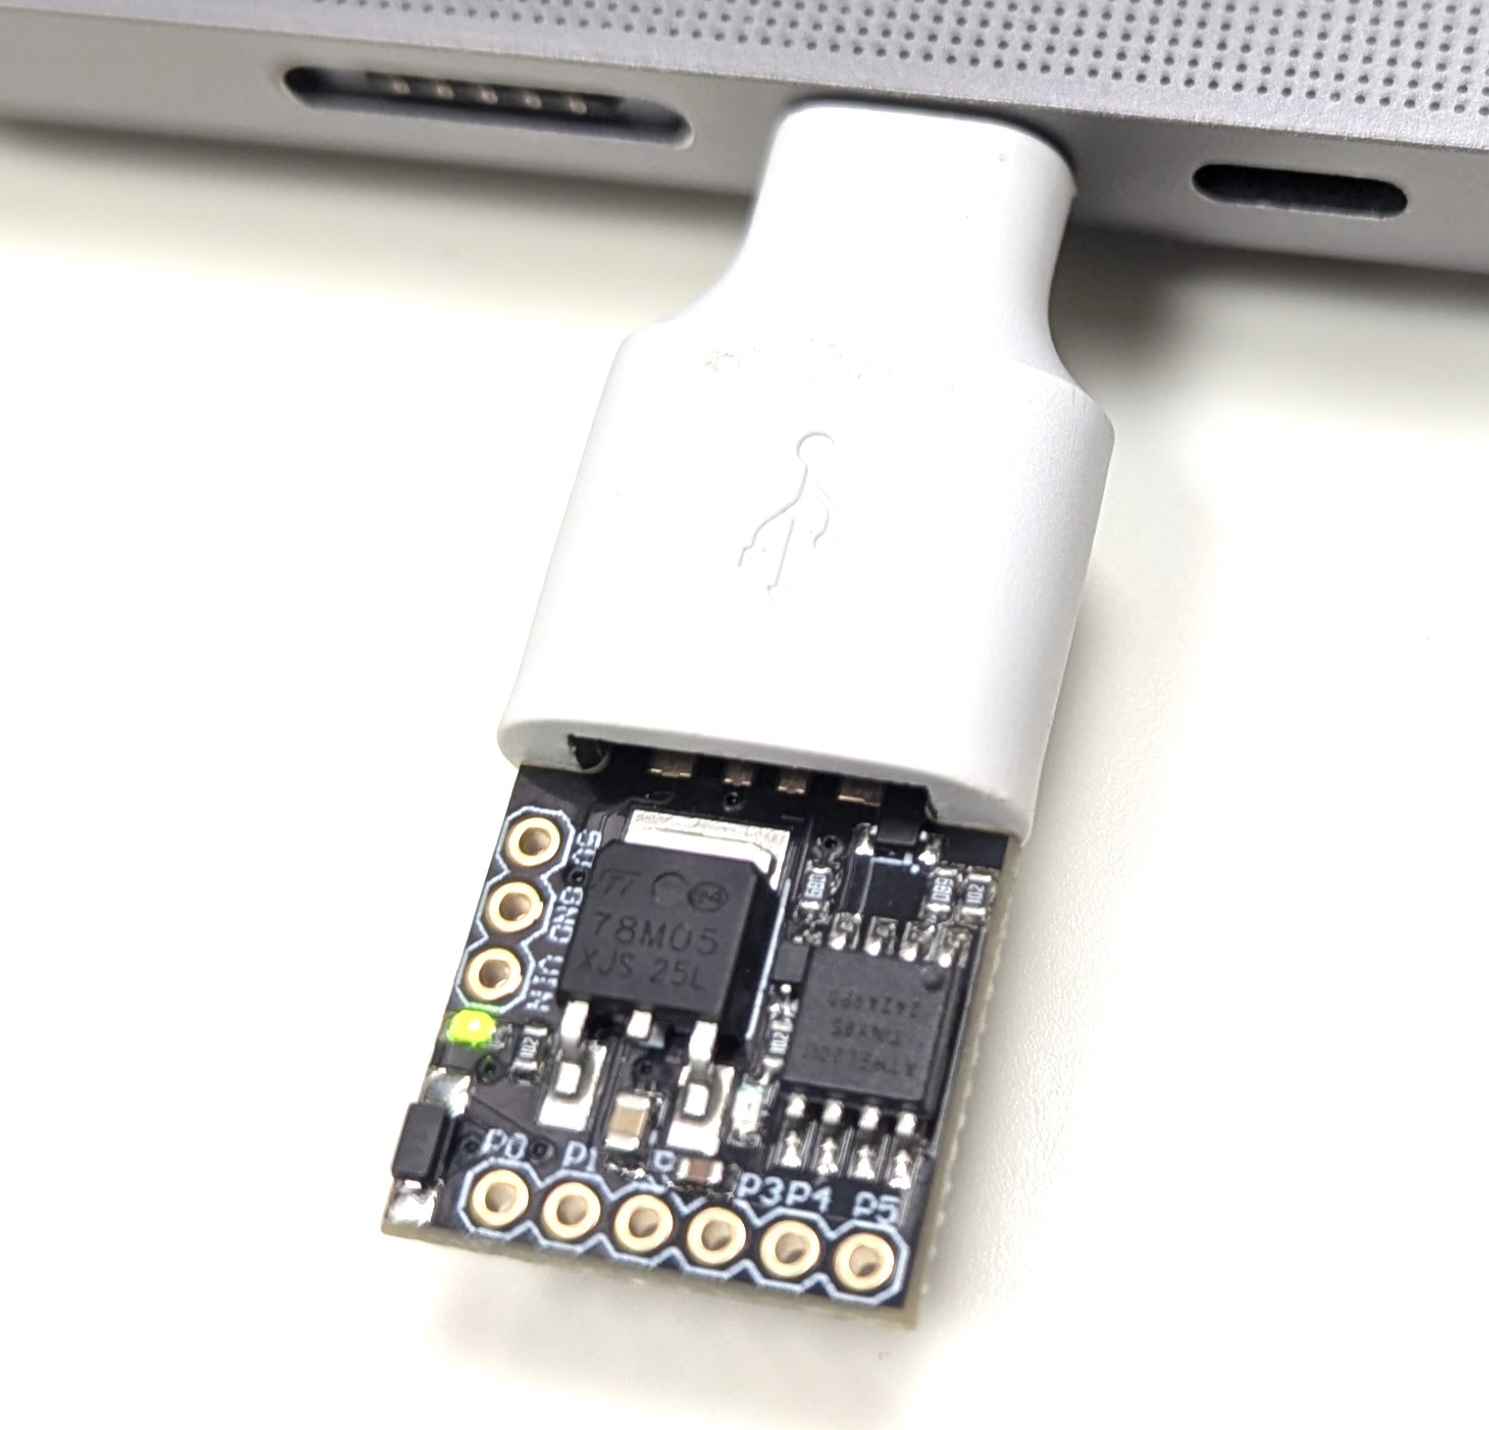
Complete steps for getting a Digispark ATtiny85 (Model A or B) compiling and uploading from the Arduino IDE on an M1–M4 Mac — no dead links, no abort traps.
The fix, in 6 steps
Why most tutorials don't work on modern Macs
There are two core issues.
- The old outdated Digistump AVR boards package URL
- And that modern Macs use M-Series CPUs which are built on a different technology than intel CPUs. The version of Micronucleus that is installed is compiled for the intel CPU architecture.
Dead domain / 404
The original Digistump package URL (digistump.github.io/...) no longer resolves, so the board definitions can't be fetched through the default Boards Manager URL.
Missing libusb-compat
The uploader depends on libusb-compat, which is not installed by default on a modern Mac. Without it, the toolchain cannot talk to the Digispark over USB and uploads fail.
Micronucleus wrong CPU architecture
The micronucleus binary bundled with the Digistump package is an old Intel (x86_64) build. On Apple Silicon it needs to be rebuilt from the official micronucleus repository and swapped in place of the bundled binary.
Prerequisites
Install the libusb-compat librarie the Micronucleus programmer needs, via Homebrew:
bashbrew install libusb-compat
libusb-compat to communicate with the Digispark over USB. Without it, the compile command in step 3 will fail.Arduino IDE board manager configuration
Open Arduino IDE.
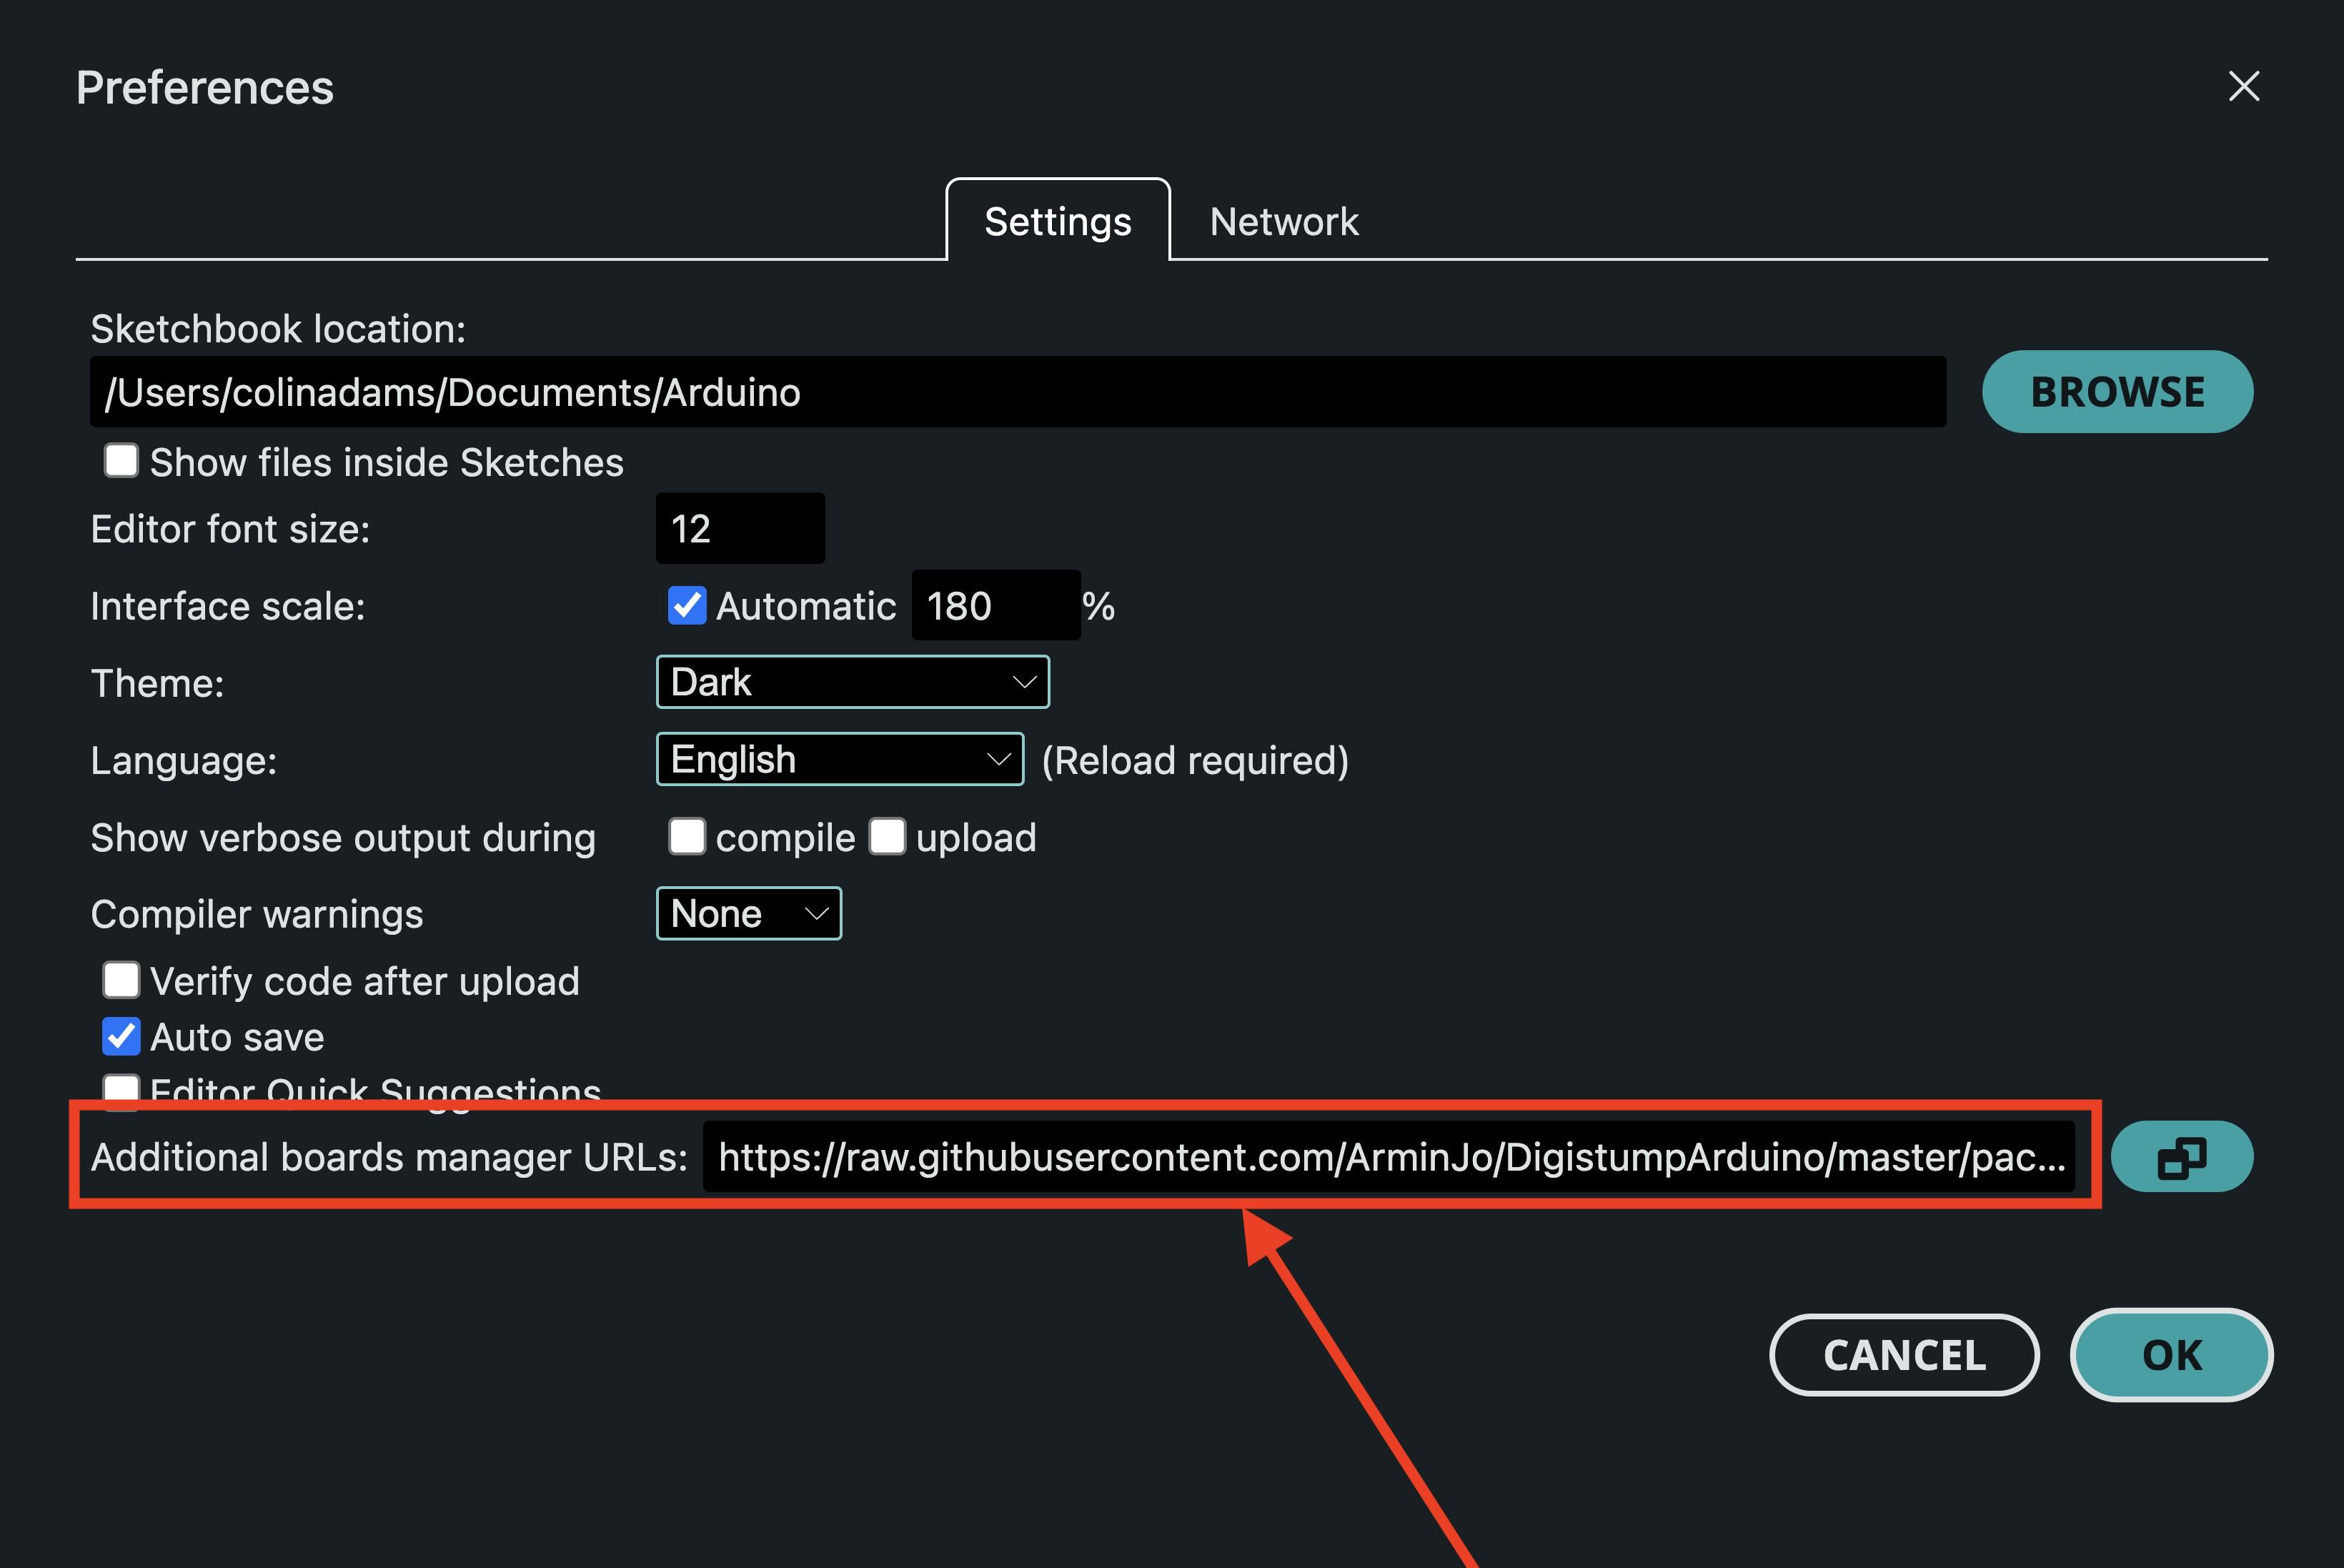
Go to Settings (Preferences on older versions).
In Additional Boards Manager URLs, add the maintained fork of the package index:
text
https://raw.githubusercontent.com/ArminJo/DigistumpArduino/master/package_digistump_index.jsonClick OK.
Go to Tools → Board → Boards Manager…
Search for Digistump and install Digistump AVR Boards.
Compile a native Apple Silicon micronucleus
This replaces the broken Intel uploader binary with one built natively for arm64:
bash# Copy and paste this whole thing to run all commands in a sequence.
# 1. Clone the official micronucleus repository
cd ~
mkdir temp
cd temp
git clone https://github.com/micronucleus/micronucleus.git

# 2. Build the command-line tool natively for ARM64
cd micronucleus/commandline
make

# 3. Overwrite the Arduino IDE tool binary (adjust the version folder if needed)
cp micronucleus ~/Library/Arduino15/packages/digistump/tools/micronucleus/2.6/micronucleus

# 4. Clean up
cd ../../.. && rm -rf temp/micronucleus
Arduino IDE settings
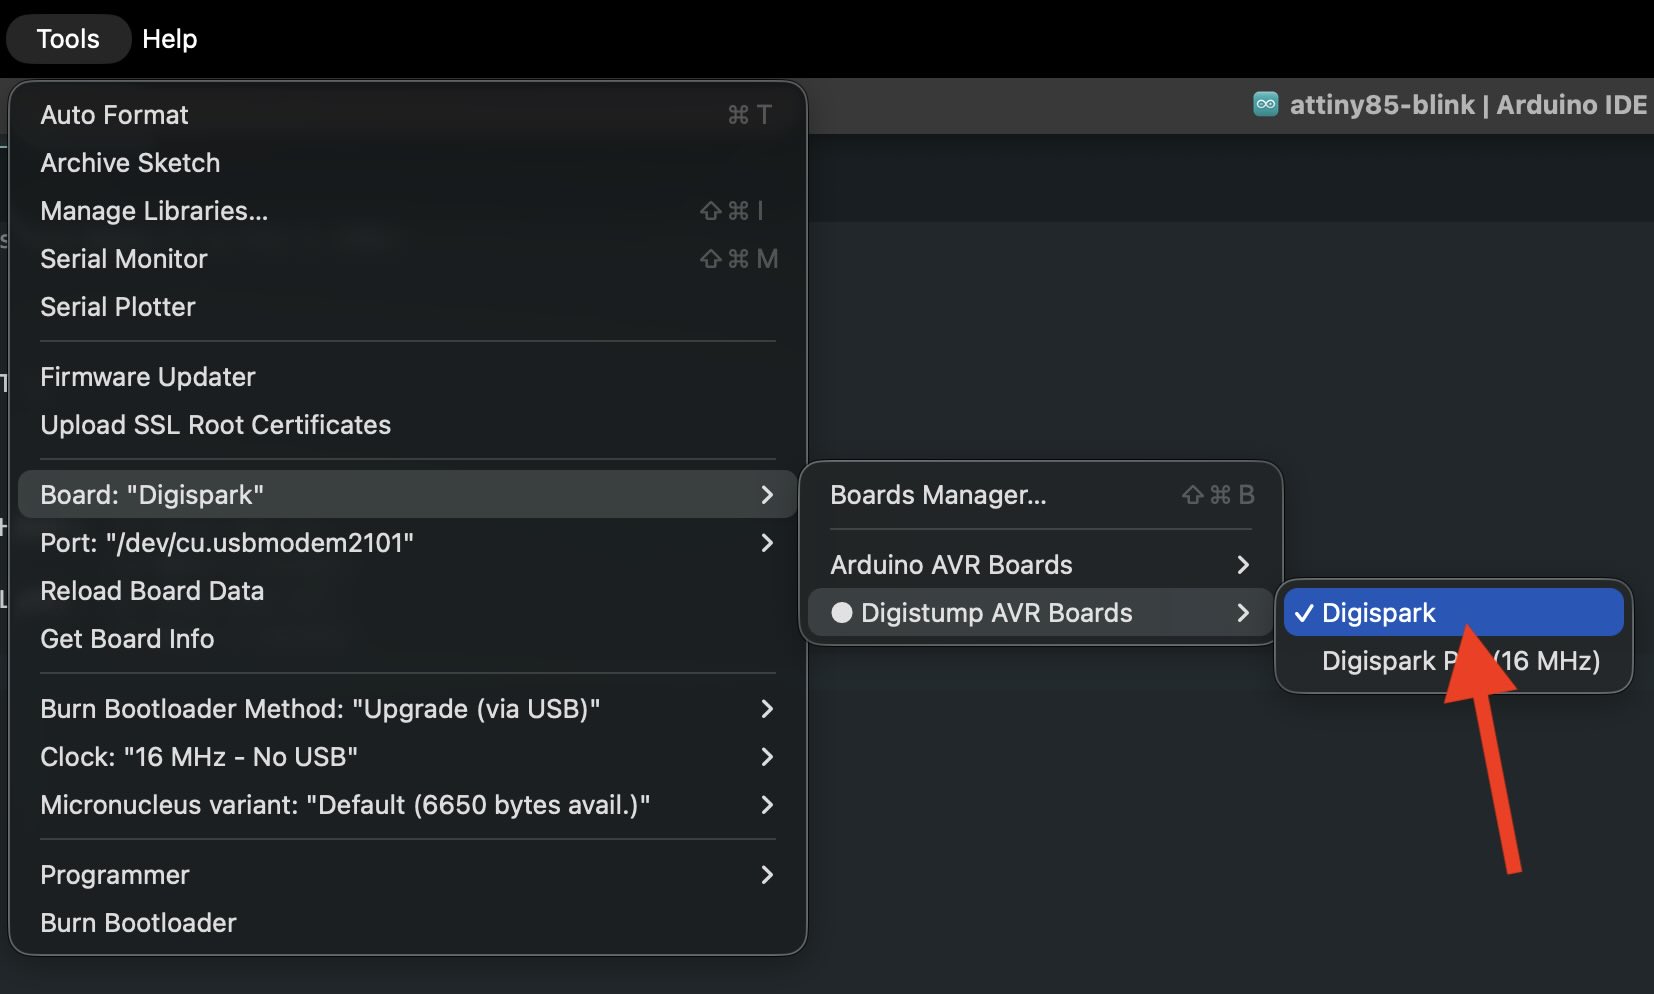
- Board:
Tools → Board → Digistump AVR Boards → Digispark - Port: Ignore the port settings — the Digispark doesn't use a standard serial COM port.
- Programmer: You don't need to set anything here. It will use Micronucleus automatically.
Sample code
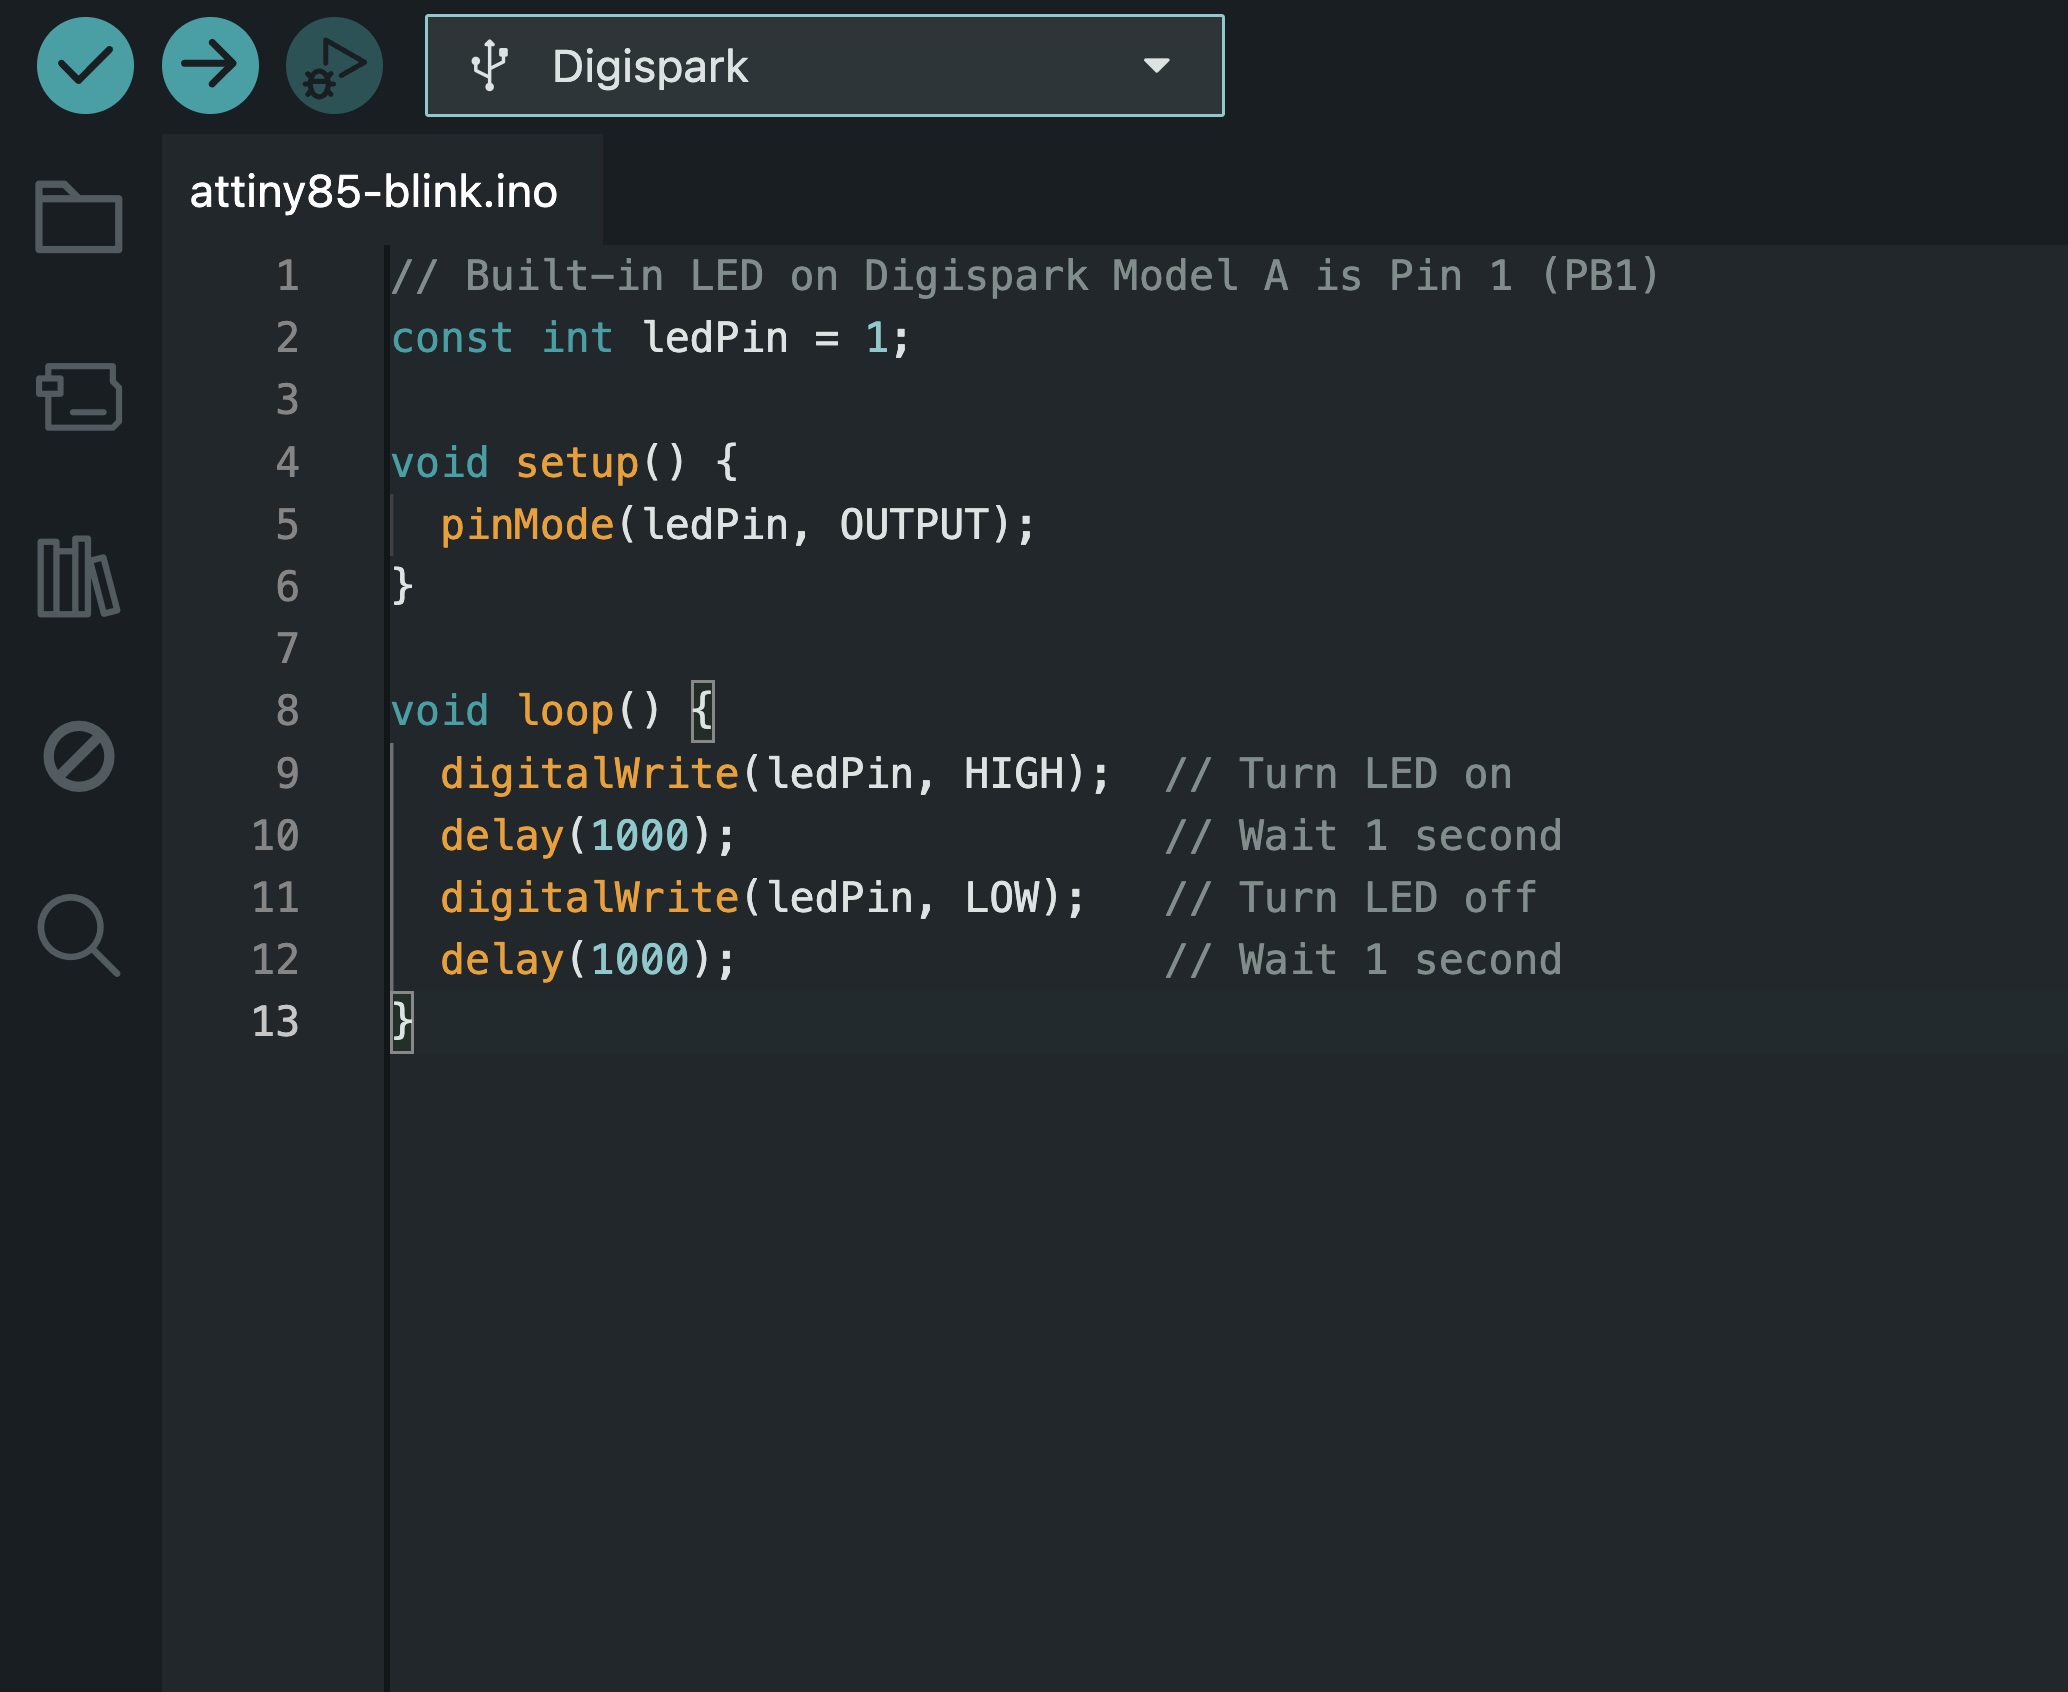
This example targets Pin 1 (PB1), the built-in LED pin on Model A boards.
Basic blink
cpp// Built-in LED on Digispark Model A is Pin 1 (PB1)
const int ledPin = 1;

void setup() {
  pinMode(ledPin, OUTPUT);
}

void loop() {
  digitalWrite(ledPin, HIGH);  // Turn LED on
  delay(1000);                 // Wait 1 second
  digitalWrite(ledPin, LOW);   // Turn LED off
  delay(1000);                 // Wait 1 second
}
Uploading procedure
Unplug the Digispark from your Mac's USB port.
If your Mac only has USB-C ports, you will need a USB hub or adapter to connect the Digispark.Click Upload in the Arduino IDE.
Watch the console until you see:
text
Running Digispark Uploader... Plug in device now... (will timeout in 60 seconds)Plug the Digispark in. The bootloader connects and finishes the upload within about 5 seconds.
Error opening bus 002 device 001: Device not configured. That is usually harmless — it often clears on its own after a few seconds. If it does not, unplug the Digispark and plug it back in; that should clear it.